Backing up Active Directory in Windows Server 2012 R2 with Powershell is now really easy thanks to the Windows Server Backup cmdlets provided in Powershell. Windows Server Backup allows you to create a Scheduled backup or a one time backup. In this example, I’ll be doing a one time backup but scheduling via a scheduled task to allow for more flexibility and I’ll be backing up the system state of the server.
The first thing that you will need to do if you haven’t done so already is to install the Windows Server Backup feature.
|
1 |
Add-Windowsfeature Windows-Server-Backup -Includeallsubfeature |
Once that is done, below is a little script that I created for myself that will backup a server’s system state. If this is a domain controller, you could use the system state backup to restore Active Directory if needed.
|
1 2 3 4 5 6 7 8 9 10 11 12 13 14 15 16 17 18 19 20 21 22 23 24 25 |
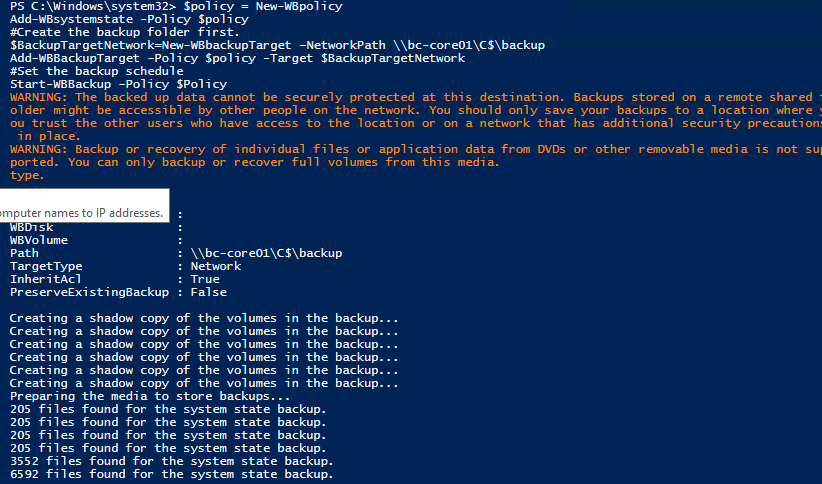
#Create the backup folder target location first. $backuplocation = Test-Path -Path '\\bc-core01\C$\backup' if (!($backuplocation)){ New-Item -Path '\\bc-core01\C$\Backup' -ItemType Folder } ##Check for an existing backup at Target Network Location $oldbackup = Test-Path -Path '\\bc-core01\C$\Backup\WindowsImageBackup\BC-Server01\' if ($oldbackup){ remove-item -Path '\\bc-core01\C$\Backup\WindowsImageBackup' -Recurse -Force } #Check for an existing Policy $OldPolicy = Get-Wbpolicy if ($OldPolicy){ Remove-WBPolicy -Policy (Get-WBPolicy -editable) } #Create New Policy $policy = New-WBpolicy Add-WBsystemstate -Policy $policy $BackupTargetNetwork=New-WBbackupTarget –NetworkPath \\bc-core01\C$\backup Add-WBBackupTarget -Policy $policy -Target $BackupTargetNetwork #Set the backup schedule Start-WBBackup -Policy $Policy |
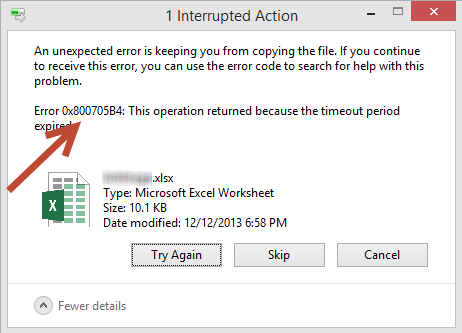
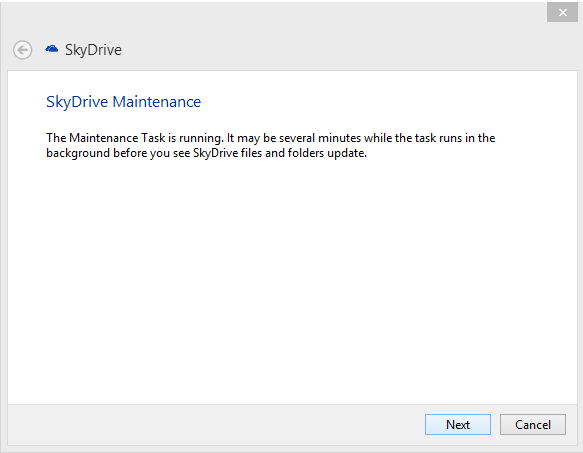
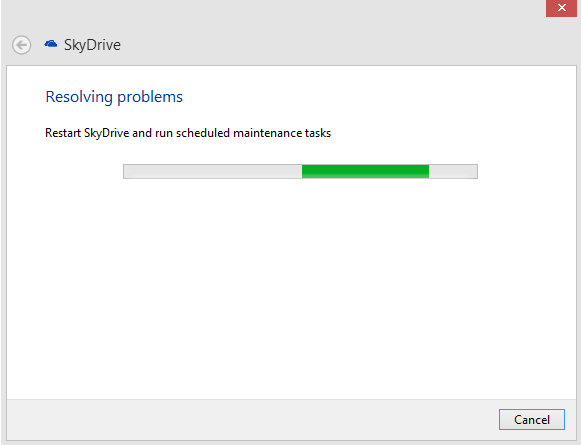
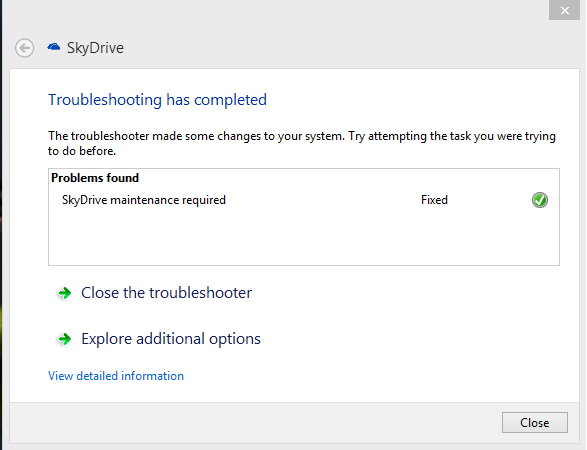
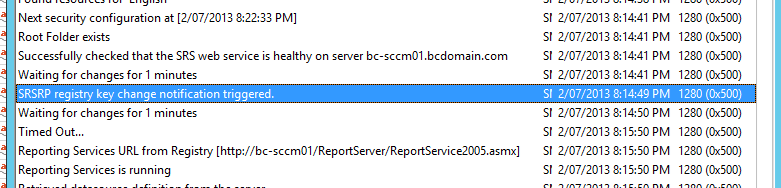
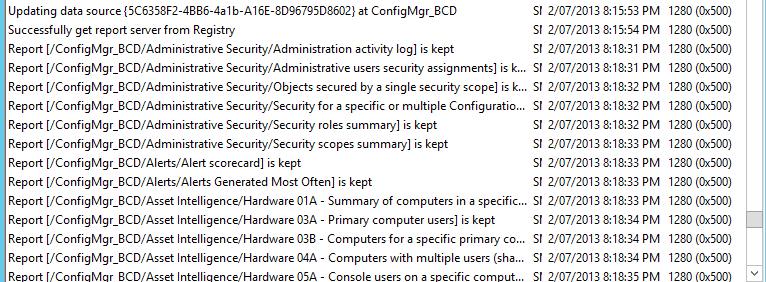
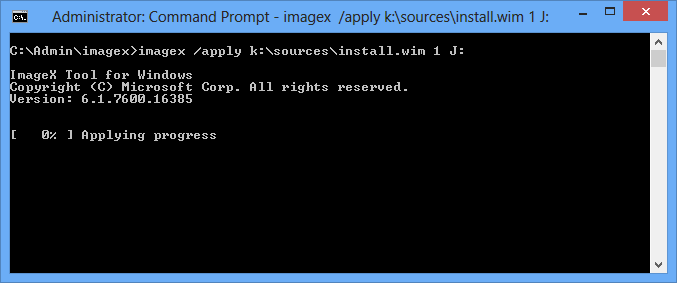
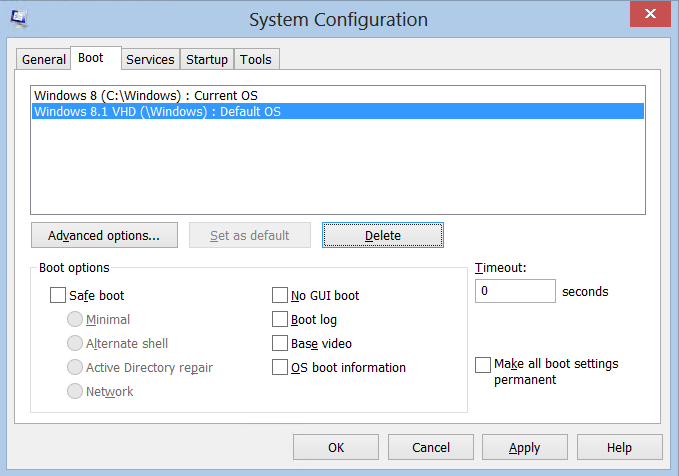
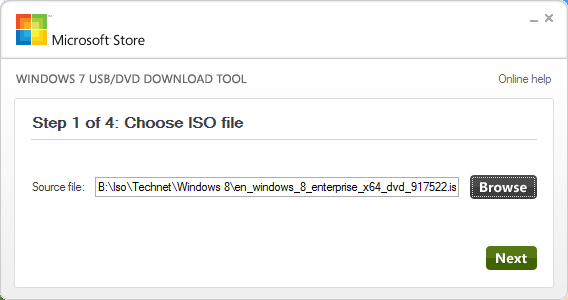
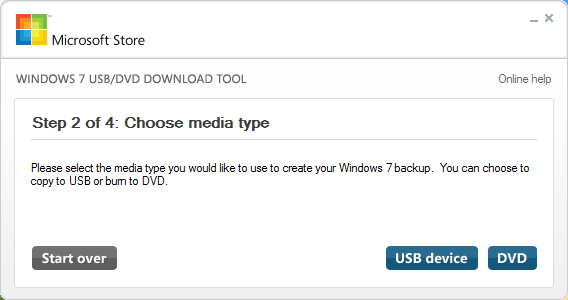
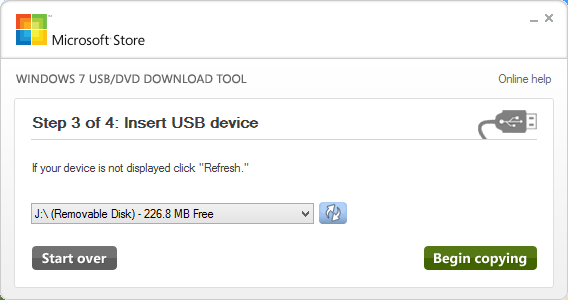
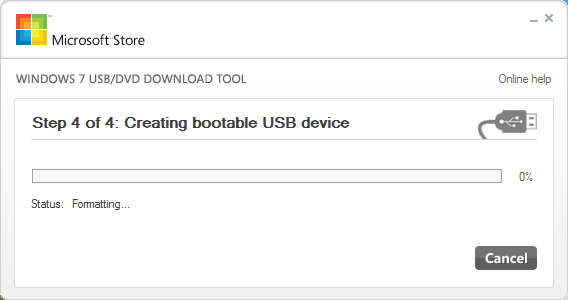
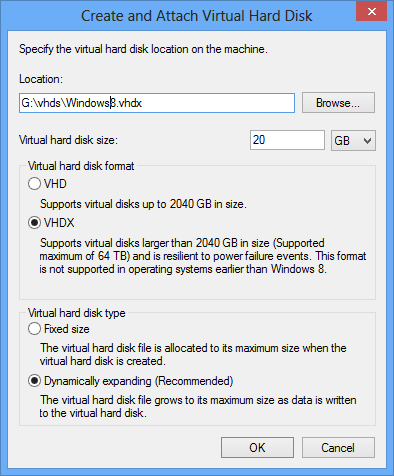
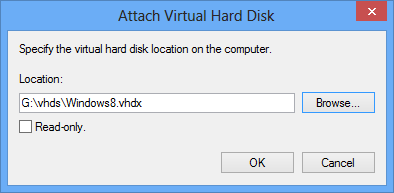
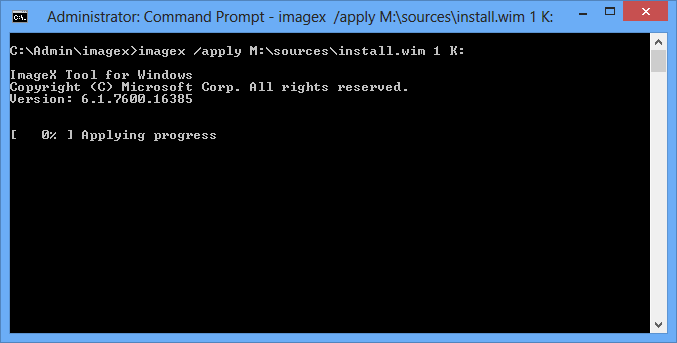
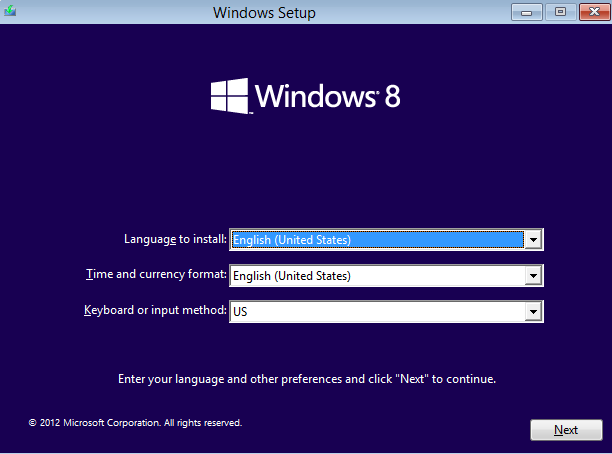
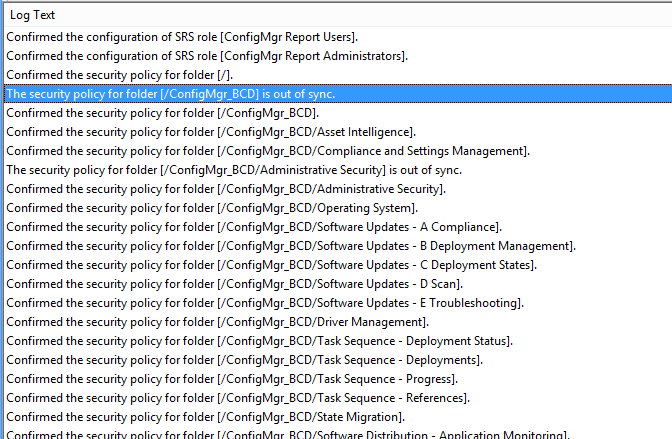
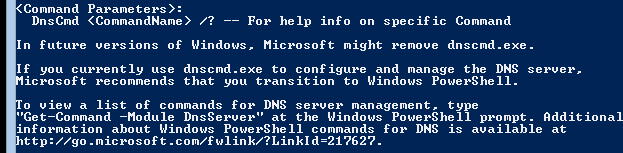
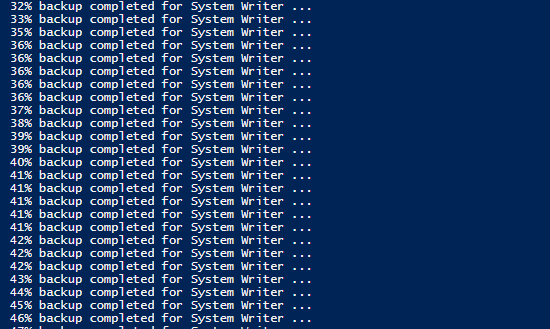
Here are some screen caps of what it looks like when it is running.
To finish things off, you can then create a scheduled task to run the script at a time you would like.
For further information or to checkout the material I used to create this script please click on the following links: -
Windows Server Backup Cmdlets in Windows Powershell
http://technet.microsoft.com/en-us/library/jj902428.aspx
Using Windows Server Backup Cmdlets
http://technet.microsoft.com/en-us/library/dd759156.aspx
Windows Server Backup Step by Step Guide for Windows Server 2008 R2
http://technet.microsoft.com/en-us/library/ee849849(WS.10).aspx
 Follow