


Copying a word document or HTML to a SharePoint Wiki that contains articles can be a long manual process in SharePoint 2010. I’ve tried many different techniques and looked at many different articles to try to achieve this. This is the only “free” work around I can find. I hope it helps you.
This process outlines how to create a Personal SharePoint Blog and also how to then copy SharePoint Blog entries into the SharePoint Wiki. This solves the time consuming problem of having to upload images to the SharePoint Wiki manually if you would like to do a Wiki post. Not only that, but it also gives you your own personal SharePoint Blog page that can be used to post your own articles to the rest of your Team.
Creating your personal SharePoint Blog page
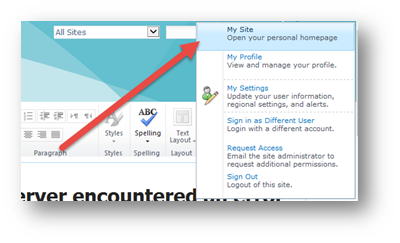
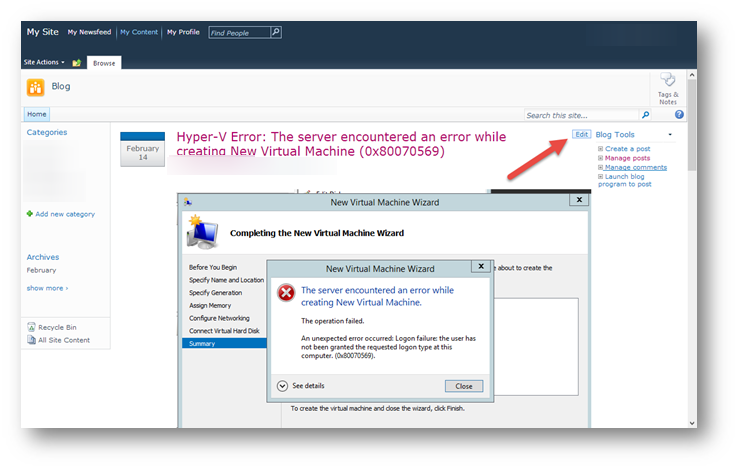
Navigate to your personal SharePoint page. You can do this by logging into our normal SharePoint Team page, then click on your username in the top right of the screen and select My Site.
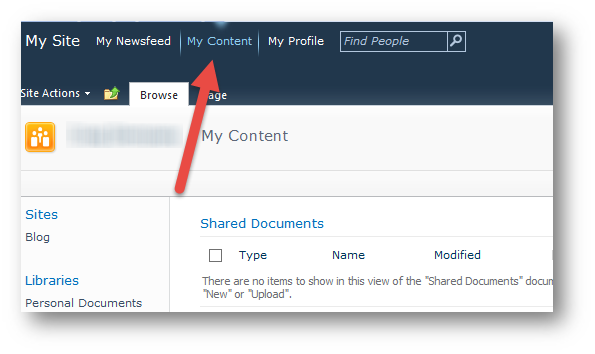
Click on the My Content tab.
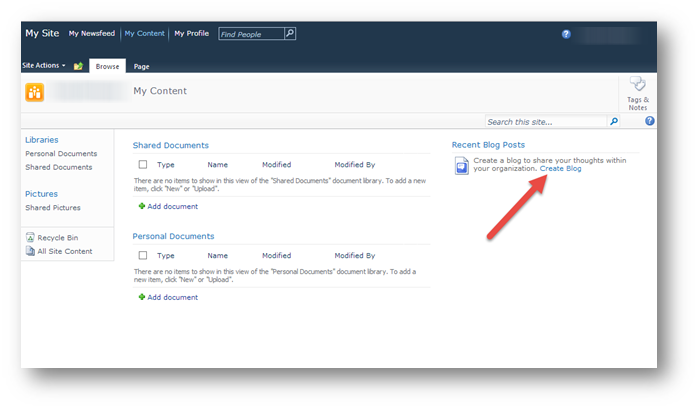
Then click on Create Blog.
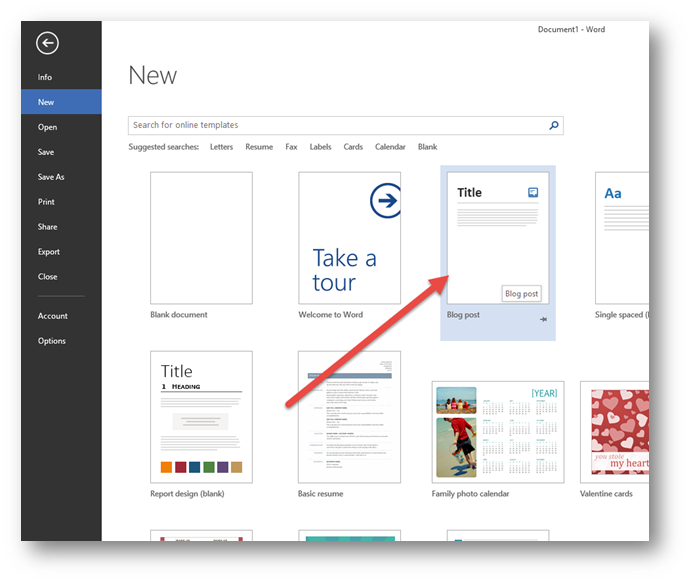
Open up word and select New, then select Blog post.
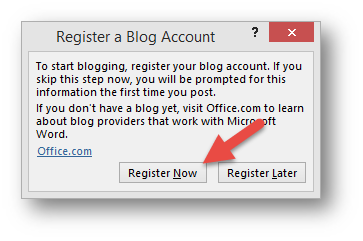
Select Register Now.
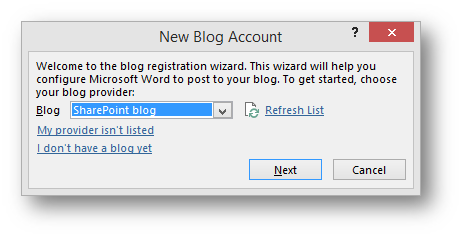
Select SharePoint Blog.
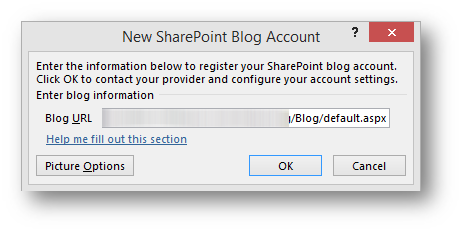
Copy and paste your blog URL into the Blog URL field.
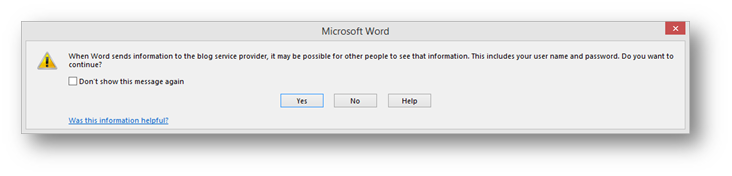
Click Yes and check the Don’t show this message again checkbox.
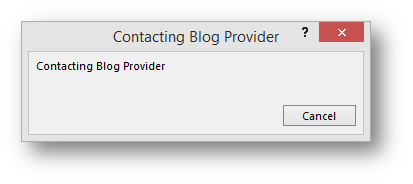
It will then contact the SharePoint Blog.
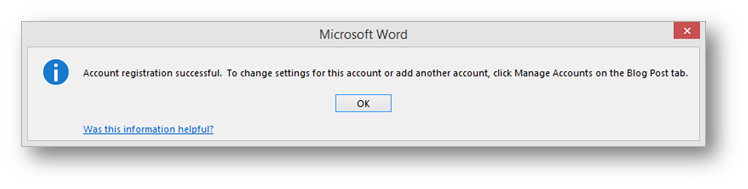
Click OK to acknowledge the successful account registration.
Create your blog post. Then click Publish.
Refresh your blog and you should see your post. From here you can create Categories for you posts or manage your posts etc.

Creating the SharePoint Wiki entry from the Blog post
To make a SharePoint Wiki Entry off the blog post do the following.
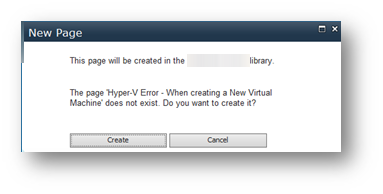
Create the page for your Wiki Entry.
Once the page is created, you can paste the body of your Blog article on the wiki page.
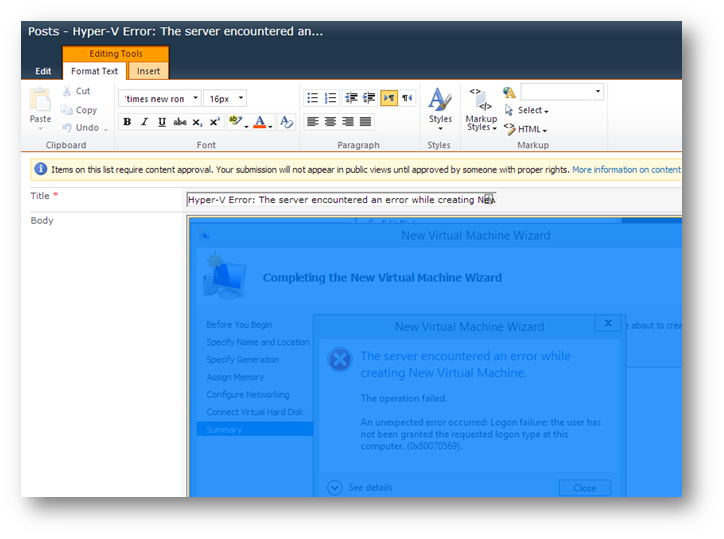
Go back to your blog post you created earlier and then click the Edit button.
With your mouse, select and copy the entire contents of the body so that it is all highlighted.
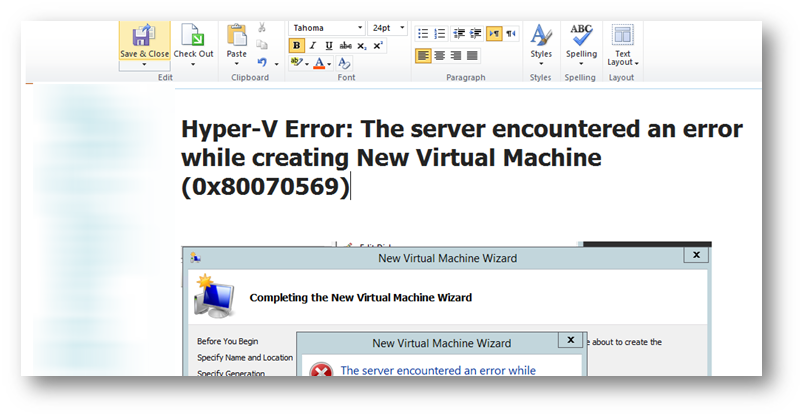
Paste this into your new Wiki page. Copy the title over as well. Check for formatting and then click Save & Close.
 Follow