Ever wanted to boot Windows 8 from a VHD file on a USB Hard drive? Ever wanted to take Windows To Go for a test drive? Probably not, I’ll admit, it’s kinda obscure. However, with USB 3.0 becoming more prevalent in our new Laptops and Workstations, it makes this kind of thing a lot more viable in today’s environment. What can you do with such an installation? Well, for me, it means not lumping around my laptop everywhere. It also means, I can have a whole environment, ready to go, copied on to a USB hard drive. I can then copy that VHD file and have a backup sitting on a computer somewhere if I ever need it. Plus, it’s just fun to do.
WARNING: - This will break things if not done correctly. Don’t do this on your production machine. I’d highly recommend using a spare workstation or laptop to get this running. I’ve found you can actually just do this on a Hyper-V VM. Just offline the USB DRIVE and mount as an IDE drive in the Hyper-V VM.
Prerequisites
Software
- Windows 7 USB DVD Tool
- Image X – You can also get this from the Windows Automated Installation Kit.
- Windows 8 Enterprise ISO
Hardware
- USB stick 4GB to boot from.
- USB Stick or USB Hard drive (probably 20 gb at least).
Build a bootable USB stick
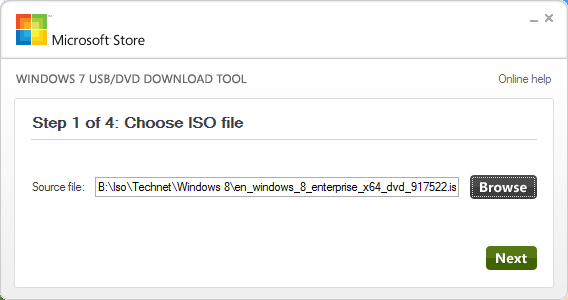
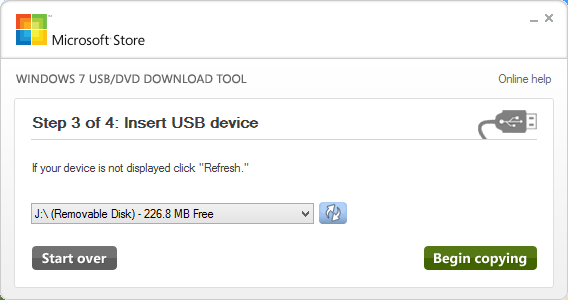
Install the Windows 7 USB DVD tool and open it. Then choose the Windows 8 Enterprise ISO for the source.
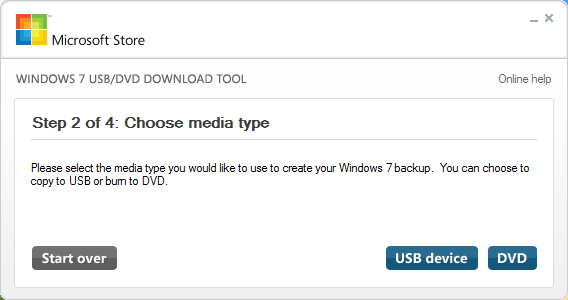
Select USB Device.
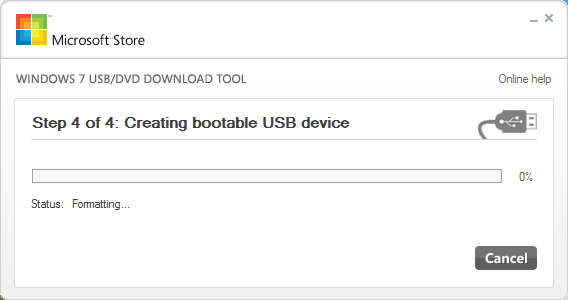
Select Begin Copying.
This will then go through and copy the files over.
Create a Windows 8 VHD File
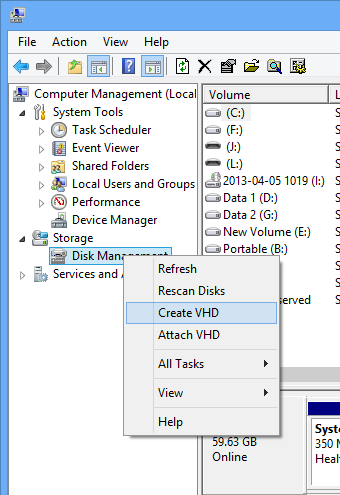
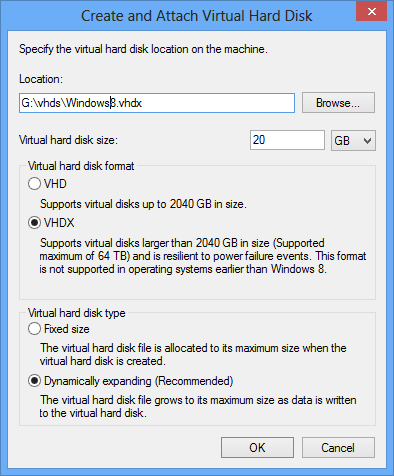
Open up Computer Mangement, and navigate to Disk Management. Right click and Create VHD.

Specify the location of the VHD file, the size and whether you would like it to be a VHD or a VHDX. It’s recommended also that if you’re using this for anything but testing then you should use a Fixed Size disk as you will get a performance boost.
**NOTE**- The VHD file needs to be on a Basic disk. This won’t work with Dynamic Disks.
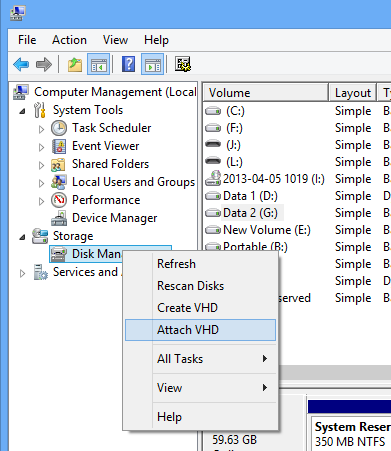
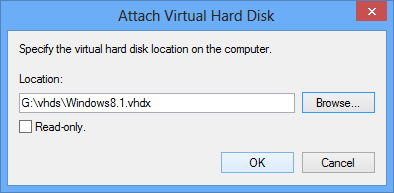
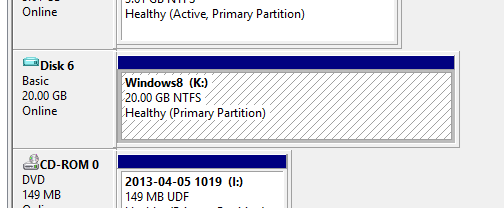
Once that has been created, go back into Computer Management. Right click Disk Management and select Attach VHD

It may already be attached. If so skip this step.
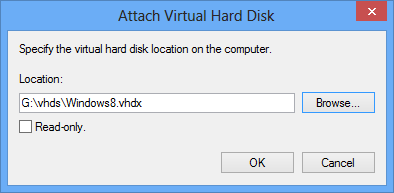
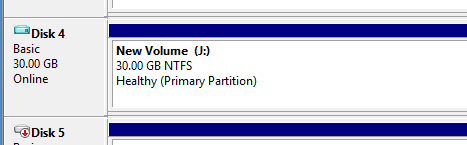
Intialize the disk and create a New Simple Volume. Take note of the Drive Letter.
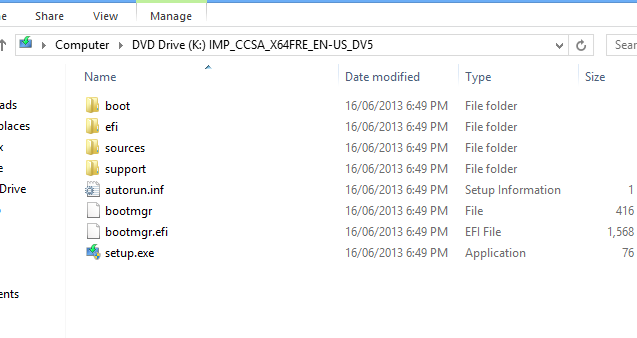
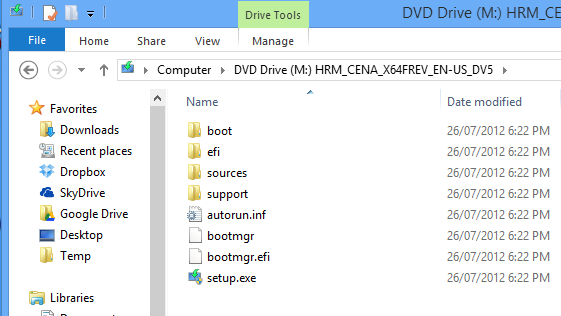
Mount the Windows 8 ISO.
Install the OS on the VHD file
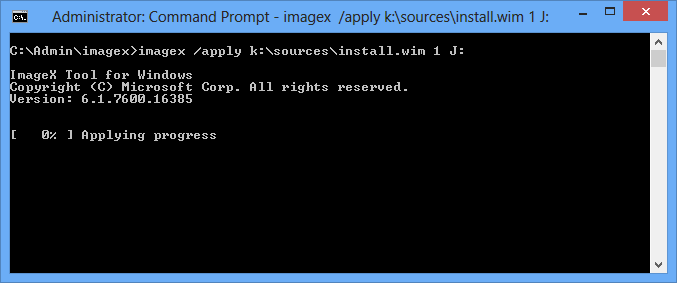
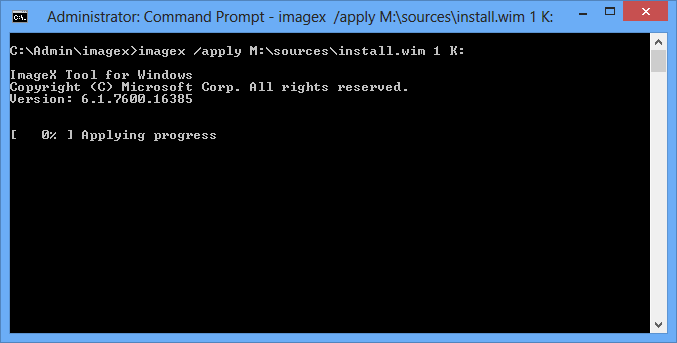
Open an elevated Command Prompt and navigate to the location of ImageX. At the command prompt, type the following
imagex /apply M:\sources\install.wim 1 K:
Where M: is the drive letter where you have mounted your Windows 8 ISO and K: is the drive letter of the VHD file.
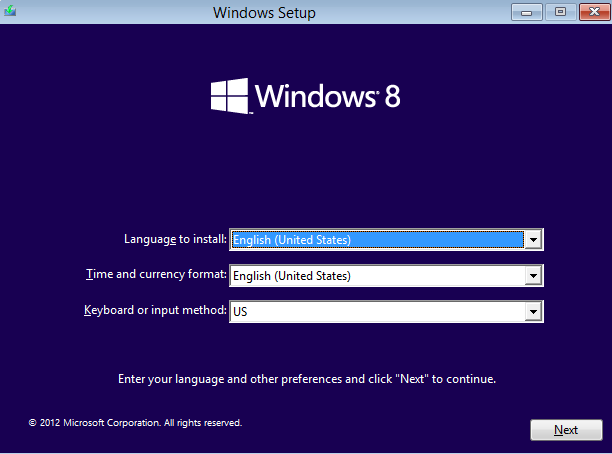
Boot from the bootable USB Stick
When the OS boots up, hit SHIFT + F10 at the following screen.
Run Diskpart at the command prompt. Type the following italicized text at the command prompt.
X:\Sources>diskpart
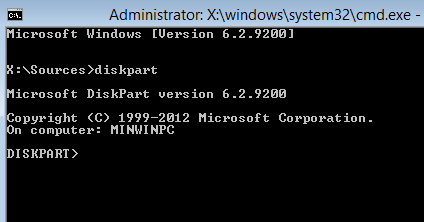
Type the following commands
DISKPART> Lis vol

In my case E:\ is my USB Hard Drive.
DISKPART> Select vdisk file=E:\windows.vhdx (E: is the USB DRIVE)
DISKPART> Attach Vdisk
DISKPART> Lis vol

In my case F:\ is the mounted VHD file.
DISKPART> Exit
X:\Sources> Bcdboot F:\Windows /s E: /f ALL /v (E: is the USB DRIVE, F: is the mounted VHD file)
To find out what all those switches mean, have a look at this web page. http://technet.microsoft.com/en-us/library/dd744347(v=ws.10).aspx
X:\Sources> Bootsect /nt60 E: /force (E: is the USB Drive).
To find out what all the switches fot the Bootsect command are have a look at this web page. http://technet.microsoft.com/en-us/library/cc749177(v=ws.10).aspx
X:\Sources> Wpeutil reboot
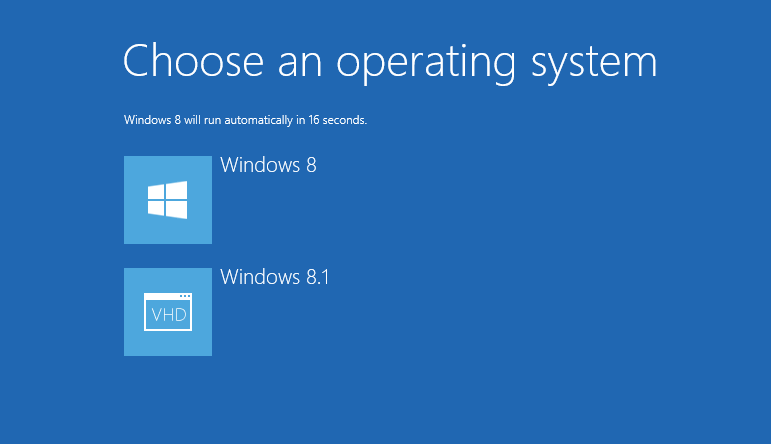
Now reboot, take out the bootable usb stick that we used to boot up.
You can also use this to install other Operating Systems. 😀
I used the following links to make up this guide. Hope this helps and enjoy!
http://technet.microsoft.com/en-us/library/hh825709.aspx
http://www.rmprepusb.com/tutorials/win8vhdonusb
http://www.rmprepusb.com/tutorials/win8togo
http://blogs.technet.com/b/haroldwong/archive/2012/08/18/how-to-create-windows-8-vhd-for-boot-to-vhd-using-simple-easy-to-follow-steps.aspx
http://scn.sap.com/community/events/innojam/blog/2013/05/07/how-to-install-windows-8-into-a-virtual-harddrive
http://www.hanselman.com/blog/GuideToInstallingAndBootingWindows8DeveloperPreviewOffAVHDVirtualHardDisk.aspx


 Follow